If you've ever struggled to pry open a stubborn key ring, risking cracked nails, chipped polish, or a little pain, this life hack is for you. It's a small trick that saves time, frustration, and maybe a trip to the nail salon.
Why This Hack Matters
Have you ever tried adding a new house or car key only to painfully wedge your nail under the steel coil? I know I have, more than once. Last month I nearly ripped off an acrylic nail trying to swap keys after moving.
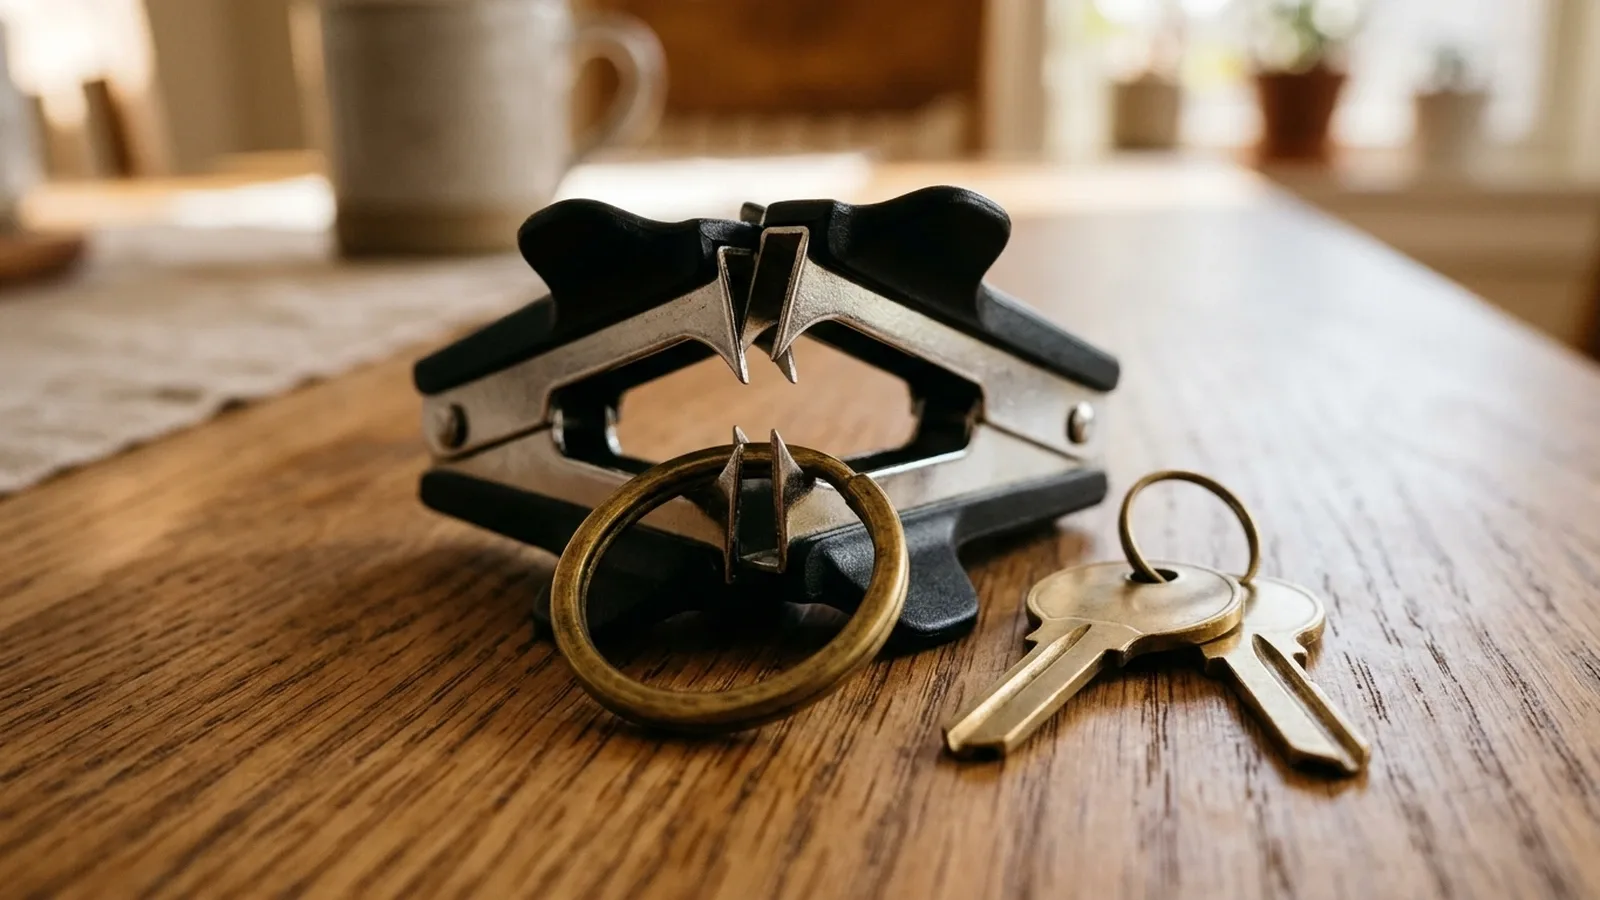
The solution? A staple remover. Yes, that office supply tool you thought was only for paper has a second life as a key ring saver. Its thin, pointed jaws slip between the coils and hold them apart, letting you slide the key on or off without your nails ever touching the ring.
Why Key Rings Fight Back
The standard key ring is a split ring: a single piece of metal wound into a double loop, with the two turns pressed tightly against each other. That tight fit is the whole point. It's what keeps your keys from wandering off in your pocket. It's also why the gap is so hard to open: you're trying to pry hardened metal apart with the edge of a fingernail, which is a fight the metal wins.
A staple remover wins because it gives you leverage and a thin, hard edge. The pointed tips are made to slide under a staple flush against paper, so they slip into the seam between the coils easily.
What You'll Need
- 1 Key Ring
- 1 Key (to add or remove)
- 1 Staple Remover (the classic jaw style with pointed tips works best)
How to Do It
- Find the end of the coil. Look at the ring edge-on and locate the cut end of the outer turn.
- Slip one tip of the staple remover into the seam right at that end, between the two layers of steel.
- Squeeze gently. The jaws spread the coils just enough to open a gap.
- Hook the key's hole into the gap and start turning the ring, or the key, so the key follows the spiral.
- Release the staple remover once the key is past the cut end, then keep spinning the key around the ring until it drops onto the inside.
- Removing a key is the same steps in reverse: open the gap, then spin the key out along the spiral.
Alternative Tools
Tip
No staple remover? Here are a few household items that work in a pinch:
- A coin: Push the edge into the seam to start a gap, then hold it there while you feed the key in.
- Tweezers: Insert one flat edge between the coils and twist slightly.
- A butter knife: Carefully pry the coils open (point it away from your other hand).
- Split ring pliers: Yes, there are pliers made for exactly this job, and anglers use them to swap hooks on lures. You put the ring in the jaws, close them, and the ring opens. If you swap keys often, they're worth a look.
Mistakes to Avoid
- Prying too wide. You only need a gap as thick as the key. Anything more is extra force on the ring and on your fingers.
- Using your teeth. Dentists everywhere just winced. Don't.
- Prying toward your hand. Anything with an edge (knife, screwdriver, coin) can slip. Push away from your fingers.
- Forcing a key that's too thick. Some fobs and car keys have small holes. If it won't fit, add a small secondary ring or a clip instead of bending the main one.
Combine it with other small hacks, and you'll save time, stress, and broken nails.
Real-Life Story
A friend of mine with a set of perfectly polished acrylics swears by this hack. She once cracked a $50 nail job trying to add a gym key. Now she keeps a mini staple remover on her keychain. Ironic, but genius.
Bonus: Organize While You're In There
Since you've got the ring open anyway:
- Split work and home keys onto two rings joined by a quick-release clip, so you can hand over one set without the other.
- Mark look-alike keys with a dab of nail polish on the head. You'll find the right one in the dark.
- Ditch the dead weight. Keys you haven't used in a year probably belong in a drawer.
My Verdict
While not life-changing, this hack is practical for anyone who dreads fiddling with key rings. I give it a solid 2/5 for simplicity and usefulness. Combine it with other small hacks, and you'll save time, stress, and broken nails.
FAQ
- Will the staple remover scratch my keys? It can leave light marks on the ring, but it rarely touches the keys themselves.
- Does this work on tiny rings? Yes, and that's where it helps most, since small rings are the hardest on nails.
- What if the ring is bent open already? Squeeze the coils back together with pliers, or replace the ring. They cost next to nothing.
More From the Series
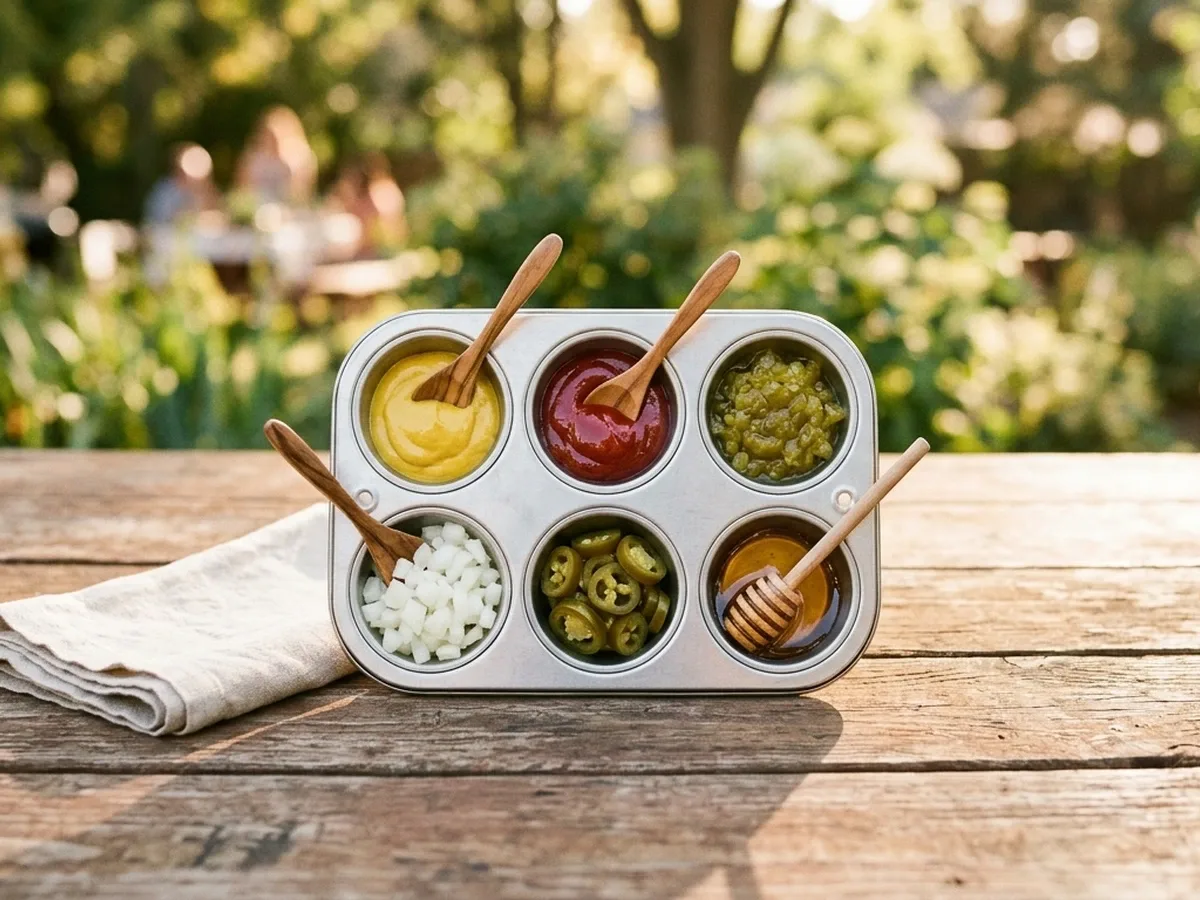
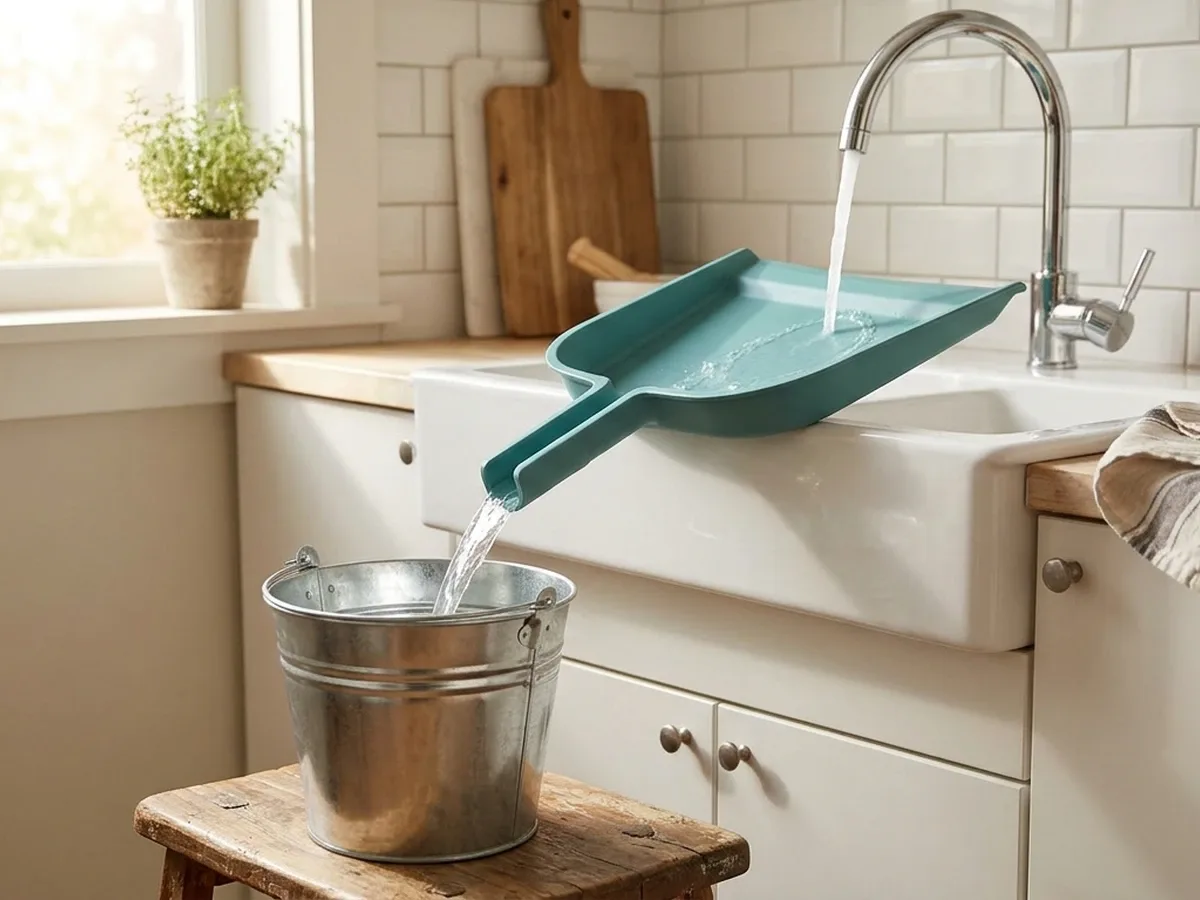
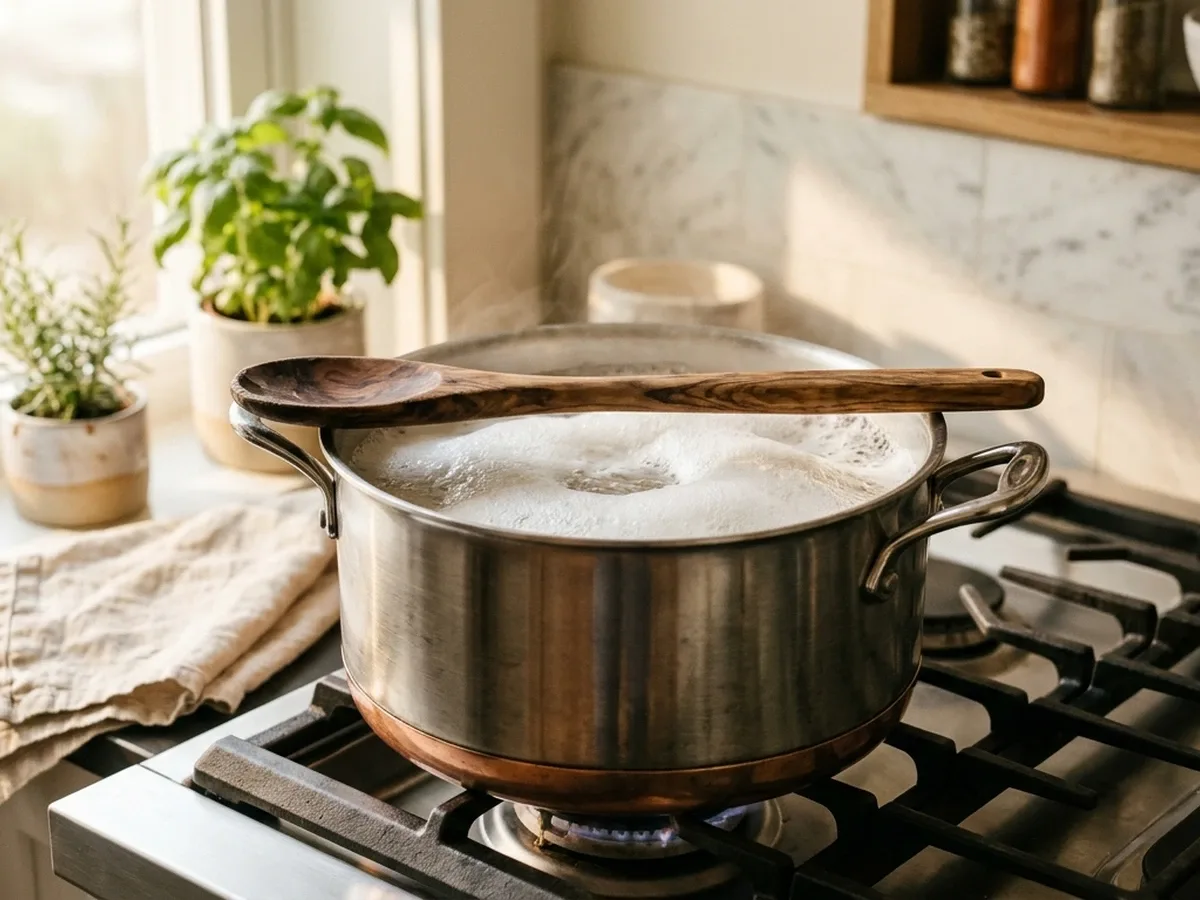
This is hack #2 of the "90 Something" series. Start at #1, fill a bucket from a tiny sink with a dustpan, then keep going with #3, the muffin tin condiment dispenser, #4, the phone and water bottle lantern and #5, the wooden spoon boil-over trick. For more everyday practicality, try 100 ways to live better.
Have you tried this, or got a better key ring hack? Leave a comment below. I'd love to hear your tips.
Sources
- Wikipedia, "Keyring" (split ring design): https://en.wikipedia.org/wiki/Keyring
- The Gadgeteer, "Xuron 496 Split Ring Pliers" review (how split ring pliers open key rings): https://the-gadgeteer.com/2012/10/14/xuron-496-split-ring-pliers-tools-you-never-knew-existed/
- Outdoor Life, "Best Fishing Pliers" (split ring pliers for changing hooks): https://www.outdoorlife.com/story/gear/best-fishing-pliers